
DIY Boho Decor
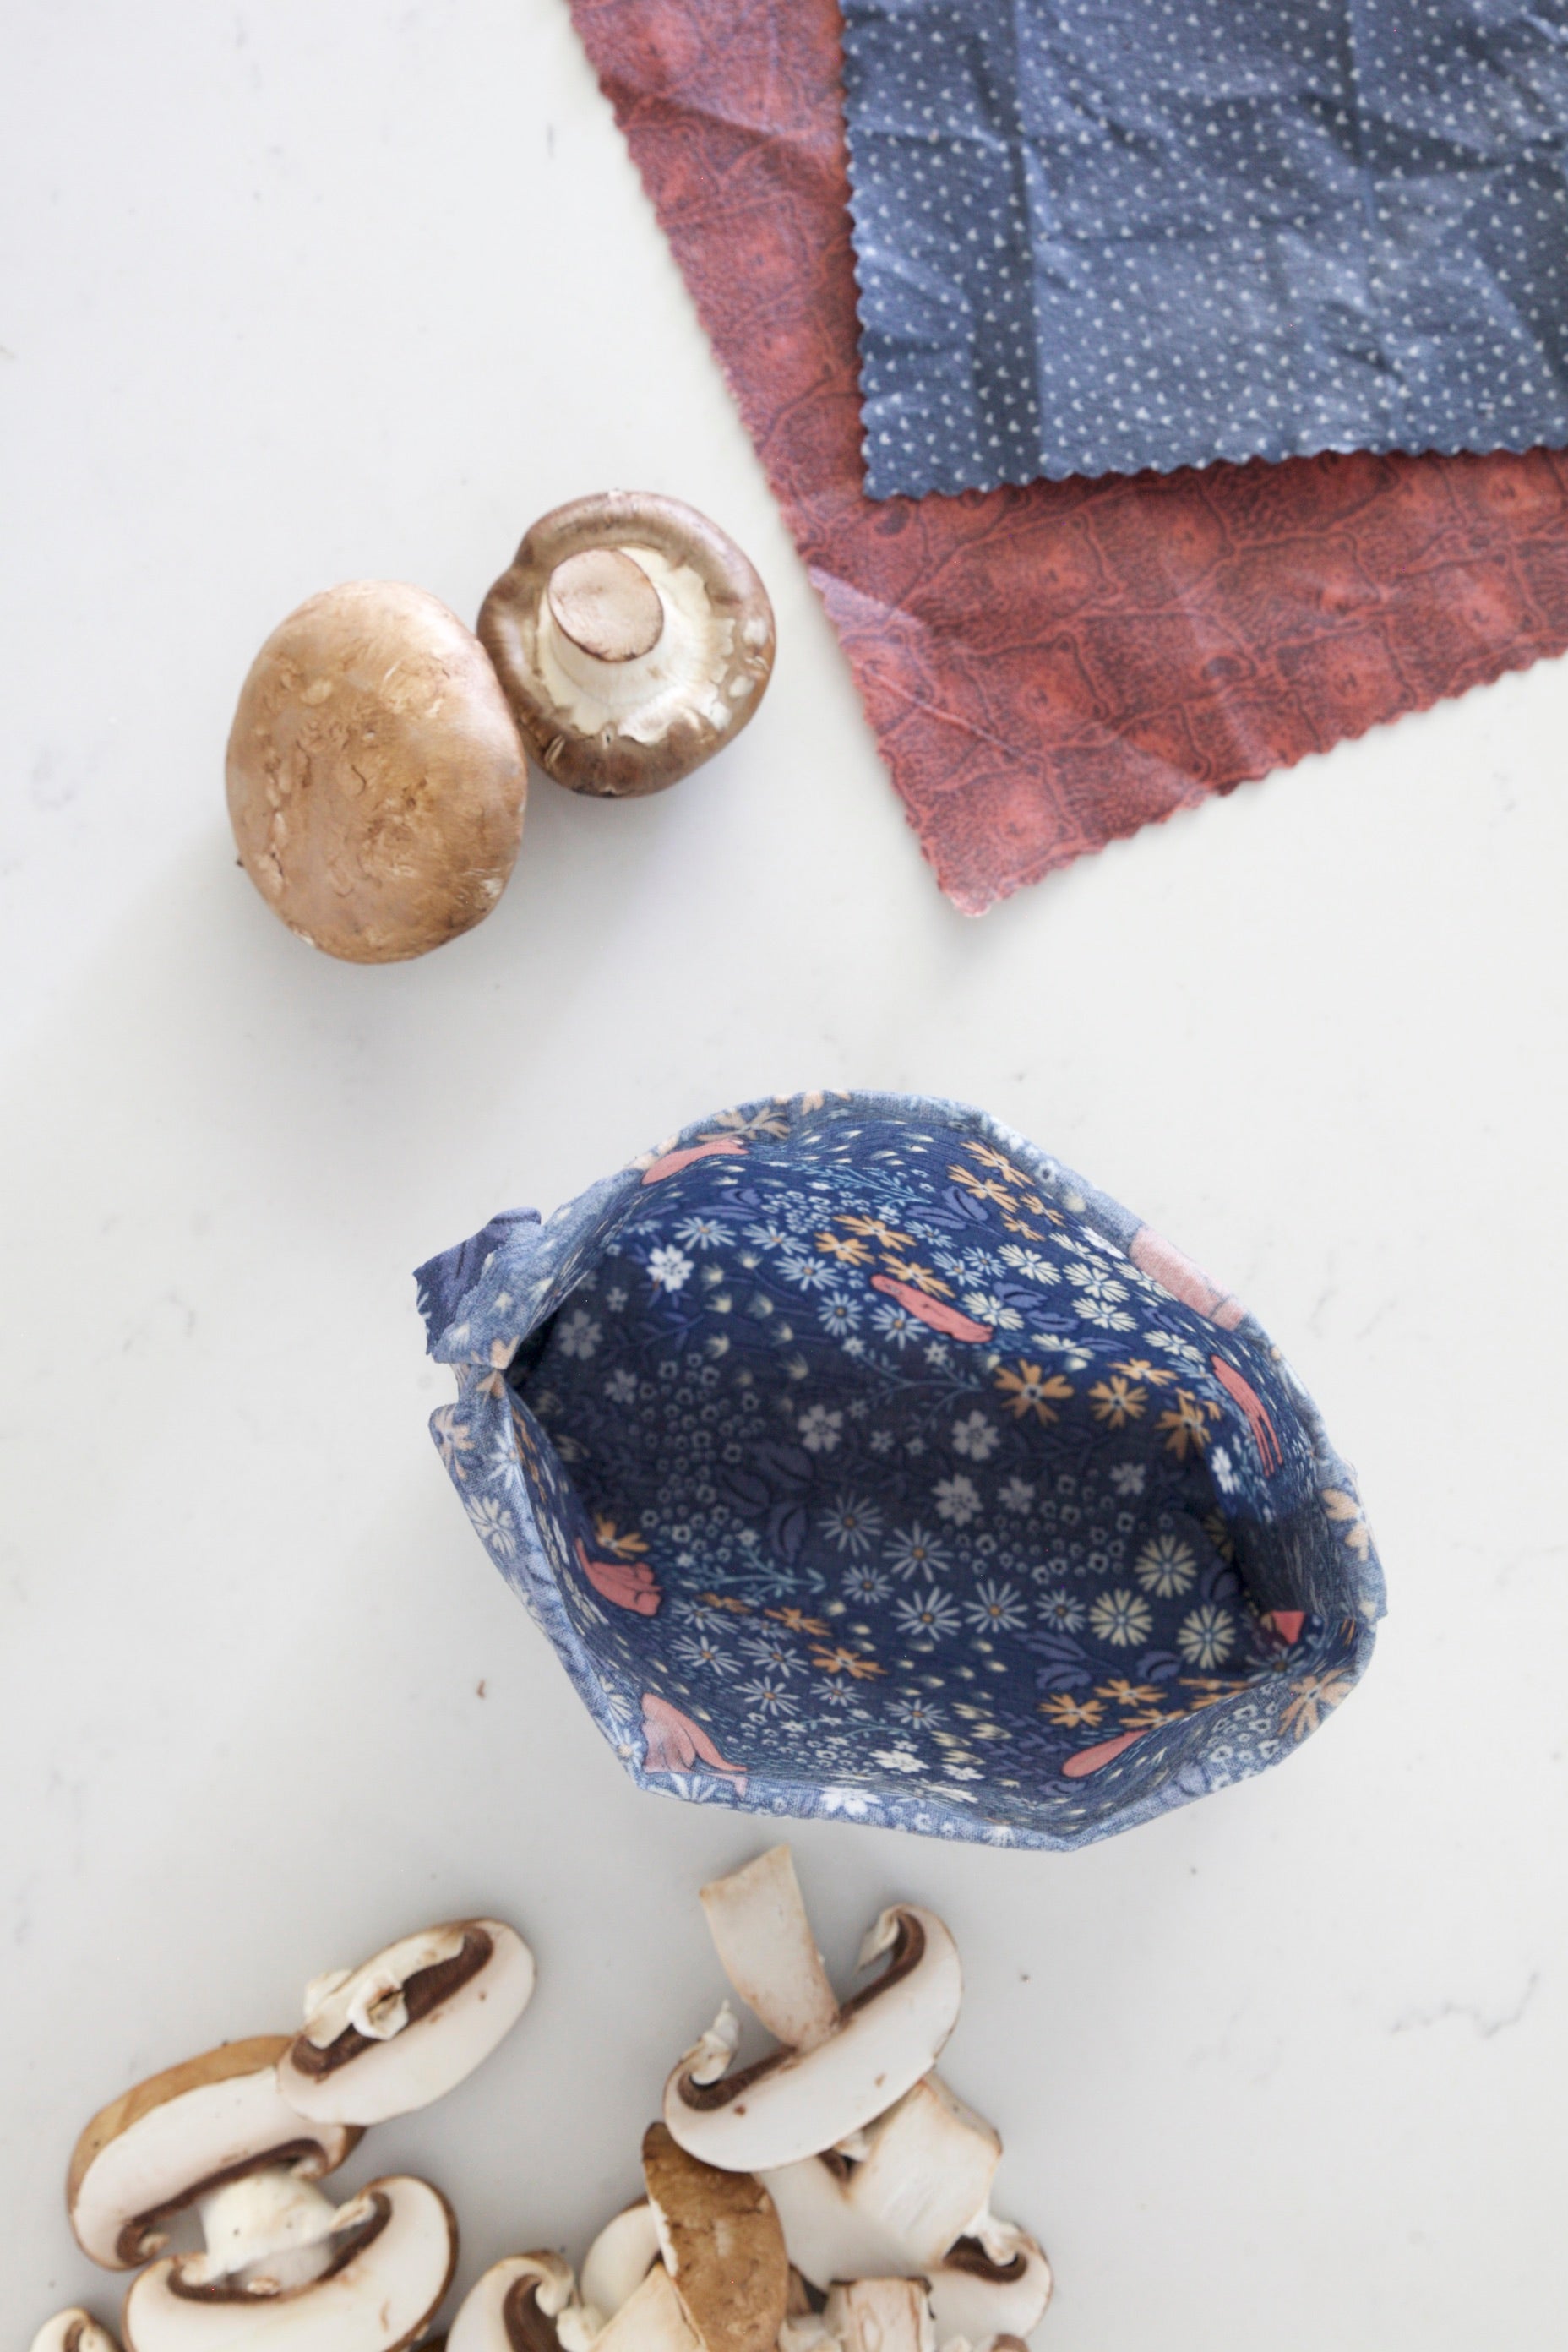
You already know I love wine and cheese from my previous post on pairings for dummies, but did you know that crafting and sustainability go equally well together? I was bitten by the crafting bug at a young age, and it never really left my system. You name it I've tried it - everything from watercolour to pottery; jewellery making to sewing. Oh, and we can't forget beeswax wraps! Goldilocks has its roots and origins in my ability to tackle any DIY project.
This crafting nature has come in handy throughout my zero waste journey, and often, the most eco-friendly version of a product can be to make it yourself! Or a total flop, but that's part of the fun, right?
Using natural elements meant that the decor we were making was not only eco friendly but lent itself to the ever-popular boho-chic trend. Beauty and sustainability are always my focus, after all.
3 DIY Boho Decor Items
Crystal Ornaments
Leafy Wreaths
Cotton/Wool Wall Hangings
1. Crystal Ornaments

All of these crafts are quite simple, but this is by far the quickest and easiest. Here's what you will need:
- quartz crystal points (or any natural stone/crystal)
- metal wire
- glue (optional)

I find crystal points the easiest to work with since they are tapered and therefore allow the wire to wrap and stay easily. If the crystal is a little rough and more natural, this also helps give the wire something to grasp on to. If your crystal is smooth and polished, you may require the use of glue to hold the wire in place.

All we did was hold the crystal in one hand and wrap the wire around with the other. You can wrap just the end or the entire crystal - the choice is yours! Once you have a look you like, cut the wire and tuck the sharp end underneath. (Fine wire will cut with scissors, but heavier wire will require wire cutters, so keep this in mind when purchasing).
Next, make a wire or twine loop to hang your new ornament. Voila! Hang your new ornament from your tree at Christmas or around the house all year round.

2. Natural Wreath

You can take a lot of creative license with this one, and much of what your final wreath looks like will depend on what greenery is available to you. If you can, I recommend foraging in the wild for fallen leaves, branches, berries, etc. If that's not accessible, then your local florist will be able to help you.
Here's what you will need:
metal hoop or base
greenery
wire
crystal (optional)

This particular wreath is actually made entirely our of bay leaves I had picked up earlier in the year. What's nice is that it's festive without being too seasonal. You can, of course, incorporate things like holly, eucalyptus or cedar to make it more seasonal if you prefer.
Start by choosing the greenery boughs and pieces that go well together. I like to do this first and then decide on the shape of the wreath (i.e. full or asymmetrical). Let nature do the talking!

Next, lay them on top of your metal base in a shape and fullness that appeals to you. Once you like what you see, gently set them to the side. Pick up your base and wire each piece securely to the base one by one. You will be building layers here.
If you are worried about working with wire here, choose a pretty one! I picked up a gold wire; that way, if it shows through on the wreath when you're done it just adds to the decor rather than look messy.
If you have some extra crystals kicking around from your ornament making, you can incorporate them into your wreath as well.


3. Wall Hanging

I have wanted a wall hanging for some time, but admittedly haven't the slightest idea how to macrame. Until I'm ready to invest in a handmade macrame piece by a local artist, I decided to make a simplified version (with the help of a friend!)
Here's what you will need:
wool or cotton yarn
1 large metal hoop
1 small metal hoop
wire

You can do this with just one hoop if you like, but I love the layered look of two!
Start by attaching the two hoops. The yarn itself is a little too soft for this, so we used gold wire. You can choose to leave the wire exposed or cover it up with the yearn afterwards.
Next, find a comfortable spot to hang your hoops from - you will need two hands and having them lay on the ground is a little tricky!

Start with the middle piece of yarn on the large hoop. Hold up the yarn until you've reached the desired length, then double over in half and cut. (You can choose to be more specific and actually measure the lengths, but that's not my style).
Here's the part I should have taken a photo of but didn't, so I will do my best to explain via text. Take the piece of yarn folded in half. Place the folded end behind the hoop. Take the two loose ends and pull through the folded loop. Pull tight.
Your yarn is now attached to the hoop! Repeat this process until you have the desired width and shape for your wall hanging on both hoops.
The nice thing is, if you make a mistake, you can trim your yarn after you are done.
